Foxwing Awning Installation Instructions

Oztent Foxwing Awning Lh Mount This Is Pretty Cool Trucktentawesome Johnny Hiking Truck Tent Motorcycle Camping Camping Gear

Extension Piece For Rhino Rack Sunseeker Batwing And Foxwing Awnings 48 Sq Ft Rhino Rack Accesso Camping Gear Diy Camping Gear Best Camping Gear

Rhino Rack Foxwing Awning Features Benefits Teardrop Camping Hammock Camping Diy Camper

Oztent Foxwing 270 Awning Series 2 How To Diy Install Youtube
How To Setup The Foxwing 270 Awning Youtube

Adorable Roof Top Tents With Foxwing Awning 31 Top Tents

All claw spigoted telescopic poles reflective guy ropes and pegs are included and come with their own travel bag for neat storage that can be kept attached in the main bag or removed and stored separately with an easy clip in clip out system.
Foxwing awning installation instructions. Page 7 retractable awning installation operation manual 3 3 continued from previous page paint to match house or awning frame. Please remove foxwing awning and crossbars when putting vehicle through an automatic car wash. Clip awning into place. Rhino rack foxwing eco awning 31117 18 19 20 secure the poles with the rubber strap before rolling awning material up see inset picture.
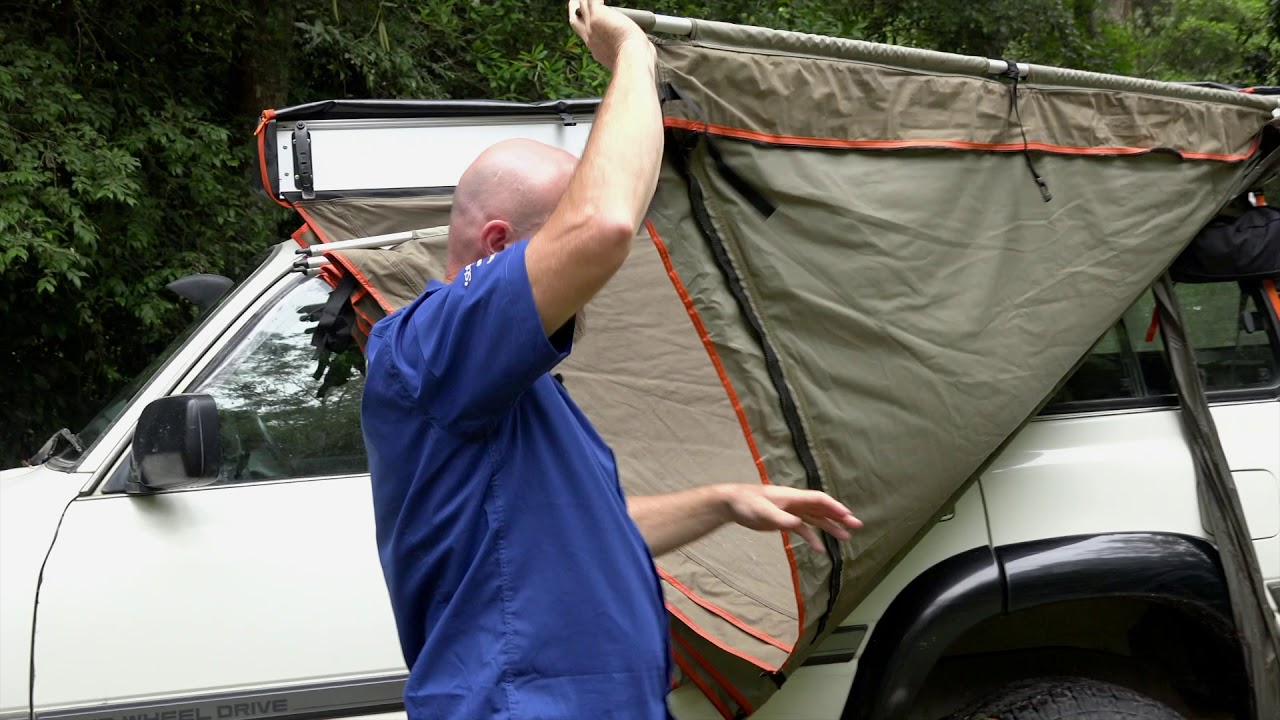
Simply undo the straps and walk out the awning. The unique and patented hinge system of the foxwing 270 awning allows for one person to easily setup the awning. Tuck the excess awning by pushing it upwards. Hi all this video with steve vk2ud was shot on our last outing at bylong 4x4 park to show the the oztent rhino foxwing awning and the 30 second awning si.
Fold the awning as shown on right. Shorten the telescopic pole slightly. The foxwing awning and 2 crossbars weigh approximately 19kg. Position the drain pipe b as shown.
When roof racks are to be used in off road. Foxwing 180º awning installation user s manual fitting instructions 1. Undo the tensioning straps the telescopic poles guy ropes and pegs. With the addition of the foxwing awning the load capacity of your crossbars will have to be adjusted accordingly.
Roll the awning all the way up till you see the corresponding clips a. Unique due to its simple 1 person operation the foxwing 270 awning can be set up and packed down in minutes. Once extended telescopic poles can be easily added to each corner. Depending on the type of wall surface the ledger board may be able to be.
Once dry install the ledger board on the wall at desired mounting height between the two e s. Insert the four 4 m8 x 23mm t bolts onto the backing extrusion as shown in item a of diagram 1 1 1 ensure that you don t drop the t bolts into the backing extrusion 1 2 position t bolts crossbar bracket and crossbar bracket plate as shown in diagram 1 2. Secure the awning with the extra pegs and guy ropes as shown. 1 for arb tray steel no mesh 2 3 parts list item component name qty part no.

Longroad Foxwing Awning Car Awnings Jeep Cherokee Xj Camping Trailer

The Oztent Foxwing Side Awning For Vehicles Or As A Teardrop Trailer Shelter Designed For 270 Degrees Of Coverage On Pa Family Tent Camping Awning Family Tent

Antenergy 2 5m Skywing Batwing Awning Roof Top Tent Camper Trailer 4wd Camping Camper Trailers Car Awnings Roof Top Tent

How To Install The Batwing And Foxwing Awning Relocation Kit Etrailer Com

Rhino Rack 31103 Foxwing Batwing Awning Bracket For Arb And Tjm Racks Roof Rack Trailer Awning Rack

45 Adorable Roof Top Tents With Foxwing Awning In 2020 Roof Top Tent Rooftop Tent Camping Top Tents

Rhino Rack Foxwing Awning Arb Bracket Fit Kit 31103 Jet Com 4x4 Accessories Roof Rack Car Roof Racks

Pin On Pinin

Tagalong Tent For Rhino Rack Foxwing Or Sunseeker Ii Awning 296 Cu Ft Rhino Rack Accessories And Parts Rv5t Tent Family Tent Camping Tent Glamping

Fillable Online Fitting Instructions For Rhino Rack Foxwing Awning By Oztent Rhs Fitting Instructions For Rhino Rack Foxwing Awning By Oztent Rhs Fax Email Print Pdffiller

43100 Foxwing Sunseeker Awning Bracket 01 Car Awnings Awning Bracket

This Is Awesome 4x4 Accessories Roof Top Tent Trucks Camping Gear On Sale 300 600

Source Car Roof Rack Awning 270 Degree Awning On M Alibaba Com Car Roof Racks Car Awnings Awning

Foxwing Awning Google Search Vehicule D Expedition Remorque Utilitaire Remorque Camping

Roof Top Tent With Annex Room Top Tents Roof Top Tent Roof Tent

The Ultimate Foxwing Setup Youtube

Customized Canvas Waterprooffoxwing Awning Easy Carry Camp View Foxwing Awning Easy Carry Longroad Product Details From Beiji Suv Camping Tent Awning Camping

Hot Item Roof Top Tent With 270 Degree Awning In 2020 Roof Top Tent Top Tents Tent Awning

Mounting Kit For Rhino Rack Batwing And Foxwing Awnings Arb And Tjm Trays Rhino Rack Accessories A Roof Rack Truck Top Roof Top Tent

4 X 4 Acessorio De Raposa Asa Toldo Toldo Camping Para Carros Praia Sombra Para Quebra Vento Camping Trailer Truck Camping Camping

Roof Tent Roof Tent Ningbowincar Truck Bed Camping Car Tent Camping Roof Top Tent

Rhino Rack Foxwing Awning Car Awnings Roof Rack Car Tent

Foxwing Awning Extensions Minivan Camping Mini Van Tent Tarp

The Ideal Overlanding Set Up An Oztent Rv The Foxwing Awning With An Accessory Panel For Additional Protection For An With Images Adventure Travel Travel Usa Overlanding

The Size Of Foxwing Awning Dachzelt Camper Umbau Zelten

Source 4x4 Offroad Batwing Car Foxwing Awning For Almost Vehicles On M Alibaba Com In 2020 Car Awnings Tent Awning Roof Top Tent

Foxwing Awning And Full Enclosure On M416 Page 2 Awning Enclosure Expedition Portal

Car Foxwing Awning Caravan Awning Side Vehicle Awning

New Foxwing Installed Makes For A Pretty Good Camping Setup But I M Not Too Sure Might Sell It And Get A Different Awning Wha Installation Camping Van Life

Pin On Camper Markise

Foxwing Awning Suit For Any 4x4 Vehicle Size 250x215cm 300x215cm 350x215cm Color Beige Green Grey And Coffee Awning Canopy Car Awnings Tent Trailer

Jeep Wrangler 4 Door With Rhino Rack Foxwing Eco 2 1 Awning By Rack Outfitters Youtube 4 Door Jeep Wrangler Jeep Wrangler Jeep Wrangler Doors

Rightline Gear Suv Tent With Rainfly Waterproof Sleeps 4 With Images Truck Bed Tent Suv Tent Tent

Adorable Roof Top Tents With Foxwing Awning 37 Roof Top Tent Top Tents Roof Tent

Darche Eclipse 270 Awning Lhs Generation Ii Diseno De Automoviles Automoviles Toldo

Tapered Extension For Rhino Rack Batwing And Foxwing Awning 78 3 4 Sq Ft Rhino Rack Accessories An Car Awnings Roof Rack Car Roof Racks
How To Make A Cheap Isolated Dual Battery Setup For 50 Expedition Portal Dual Battery Setup Truck Camping Trucks

Pin By Rowen Grey On Car Go Bag Truck Bed Tent Truck Tent Camping Camping Bed

Car Foxwing Awning Caravan Awning Side Vehicle Awning Buy Side Vehicle Awning Caravan Awning Car Foxwing Awning Product On Caravan Awnings Roof Tent Caravan

Wa02 Wing Awning Foxwing Awning Ripstop Canvas Three Size For Choice 250x215cm 300x215cm 350x215cm Change Room Walls Overland Trailer Car Awnings Tent Trailer

Rhino Rack Batwing Tapered Zip Extension Tent Awning Bat Wings Telescopic Pole

Oztent Foxwing 270 Awning Ii Ofw27awlha Awning Tent Hacks Diy Camper

Pin On Suv Rv Project

